Form settings
ℹ️ Note: The screenshots on this page still show the previous propform interface. All features and settings described here apply unchanged — the look was modernised with the new editor.
When you create a form or edit an existing one in your form overview, you'll land in the form editor. Here you configure how your form behaves — from its appearance and emails to the onOffice integration.
How the editor is structured
- Sidebar on the left: All settings are organized into sections (see the table below). One click switches the section; every section can be linked directly (e.g.
…/edit#gestaltung). - Header: Internal title, activation toggle, "View" (opens the form in a new tab), Preview and Save are always visible.
- Saving per section: Each section has its own save button and only saves its own settings. Unsaved changes are marked by an orange dot in the sidebar; the save button at the top right saves all changed sections at once.
- Live preview: "Preview" shows the real form next to the editor. Preview views are not counted, no onOffice activity is written, and submitting is disabled. The preview refreshes automatically after every save.
- Fields as a visual builder: The Fields section shows your form as building blocks — click a field to edit it in the side panel, drag & drop to reorder, duplicate, or edit labels directly in the block. Learn more under Fields.
The sections
| Group | Section | Contents |
|---|---|---|
| — | Fields | Visual form builder: create, edit and sort fields. You also edit the form headline and subheadline right here in the wireframe. |
| onOffice | Edit records | Load & edit existing records via link, required records, filter settings |
| Link records | Property ↔ address relations (incl. relation type) | |
| Write activity | onOffice activity on submission (and optionally on view) | |
| Write task | onOffice task on submission | |
| Send email | Emails from onOffice, confirmation email | |
| Create & store PDF | PDF generator: store the submission as a PDF in onOffice | |
| Write field values | Fill fields without input, add/remove multiselect values | |
| Generate AI text | ChatGPT text generation from the form data | |
| Submit | Submit & Thank-you page | Button label, thank-you page, thank-you rules, UUID chaining, auto-submit |
| Design & imprint | Design | Styling: logo, colours, font, background, card look |
| Multi-step form | Split the form into several steps | |
| Imprint | Custom imprint for the form | |
| Sharing & marketing | Share & embed | Form links, iFrame embedding, copy sharing, form group |
| Webhooks & API | propform webhooks (Zapier, n8n, Make …), onOffice Marketplace webhooks | |
| Marketing & tracking | Google Tag Manager, Facebook Pixel, etracker | |
| Administration | Access & security | Staff area, passwords, form key, expiration date, IP whitelist |
| Form URL | Change the URL suffix (slug) | |
| Logic & conditions | Rules (show/hide fields and much more) | |
| Miscellaneous | Address duplicate check, AI voice input, internal note | |
| Statistics | Views, submissions, AI answers (with filters & CSV export) |
The following sections explain the individual settings in detail.
In the top right-hand corner, you’ll find the Activate switch and the status (red = inactive, green = active). Only activated forms are accessible via their link and count towards your form limit.

- Title (internal): Shown in the editor's header and only you can see it — in the form overview you can sort and search by it. Use a naming convention, e.g. “🏢 Acquisition — Property Survey”.
- Note (internal): A reminder for you or colleagues about what the form does — found in the Miscellaneous section.
- Form URL suffix: The last part of the form URL (slug), changeable in the Form URL section, provided it is unique.
- Form group: Optional grouping of multiple forms (Share & embed section). Useful for form group copy links, which allow you to copy multiple forms at once to another propform account.
Heading
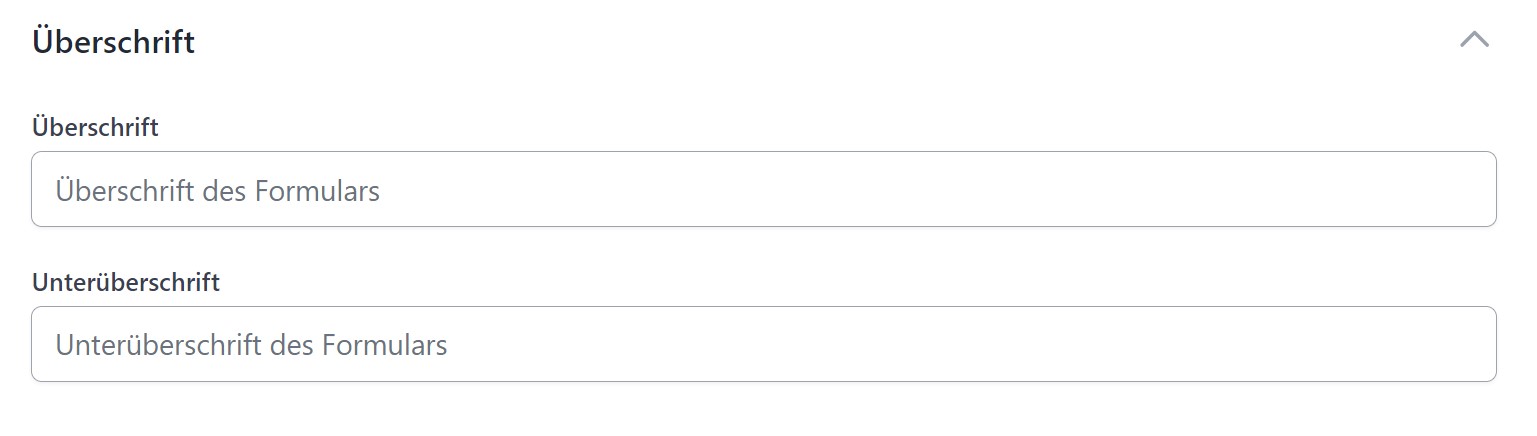
- Heading: Displayed above the form. Emojis are allowed. Can be left blank.
- Subheading: Appears below the heading; also optional.
> Both the heading and subheading support onOffice macros — e.g. _ort (property location) or _Vorname (first name of the loaded address). When a record is loaded into the form, the macros are automatically replaced. You can find the complete official onOffice macro list here.
Protection against unauthorised access
To prevent anyone from simply accessing your form, there are four protection mechanisms that can also be combined:
Form key
If you tick the “Form key required” box, a specific value must be included in the form URL as the URL parameter ?key=. Example:
https://propform.io/form/z6YhgdCMsu95?key=geheim123
The value can also be an onOffice macro. This allows you, for example, to create one-time links where the key changes after the first submission.
> ⚠️ As the value appears in plain text in the URL, this is not a cryptographic password. Do not use real passwords.
Password protection with an entry screen
Unlike the form key above, where the value appears openly as ?key= in the URL, password protection actively asks the visitor for a password when they open the form: instead of the form, an entry screen appears first. Only after the correct entry is the form displayed — and only then can it be submitted.
Enable “Password protection active” and enter:
- Password: The expected value. You can also use an onOffice macro — e.g.
_plz, so the visitor has to enter the postcode from their own record (a simple identity check). For a macro password, the relevant record must be loaded in the link (e.g. the address via UUID) — see Prefilling. - Hint text above the password field: What the visitor reads on the entry screen, e.g. “Please enter your postcode”.
- Error message: Shown when the entered password is incorrect.
After the correct entry, the form stays unlocked for 2 hours (even when the page is reloaded). The protection applies both to opening and to submitting.
> 💡 Which one when? Use the form key (?key=) when access should run automatically via a prepared link (e.g. personalised one-time links from onOffice). Use password protection when the visitor should enter a password themselves that you have shared with them separately.
Expiry date required
Enabled: The form can only be accessed if ?exp=YYYY-MM-DD HH:MM:SS is included in the link and is in the future.
https://propform.io/form/z6YhgdCMsu95?exp=2030-12-31 23:59:59
You can either set the expiry date statically in the link or have it calculated dynamically using an onOffice formula — e.g. “always 14 days from dispatch” via _calculate(DateAdd(now;14;days)). More under Account → Expiry date for form links.
IP Whitelist
Enter a list of IP addresses in the form settings. Only requests from these IPs are permitted. Useful for internal forms that should only be accessed from your office network.
## Create an onOffice Activity
You can have an activity (agent log entry) generated in onOffice — either upon form access (e.g. “Link Tracker”) or upon form submission (e.g. “Enquiry sent”). Both options can also be active simultaneously.
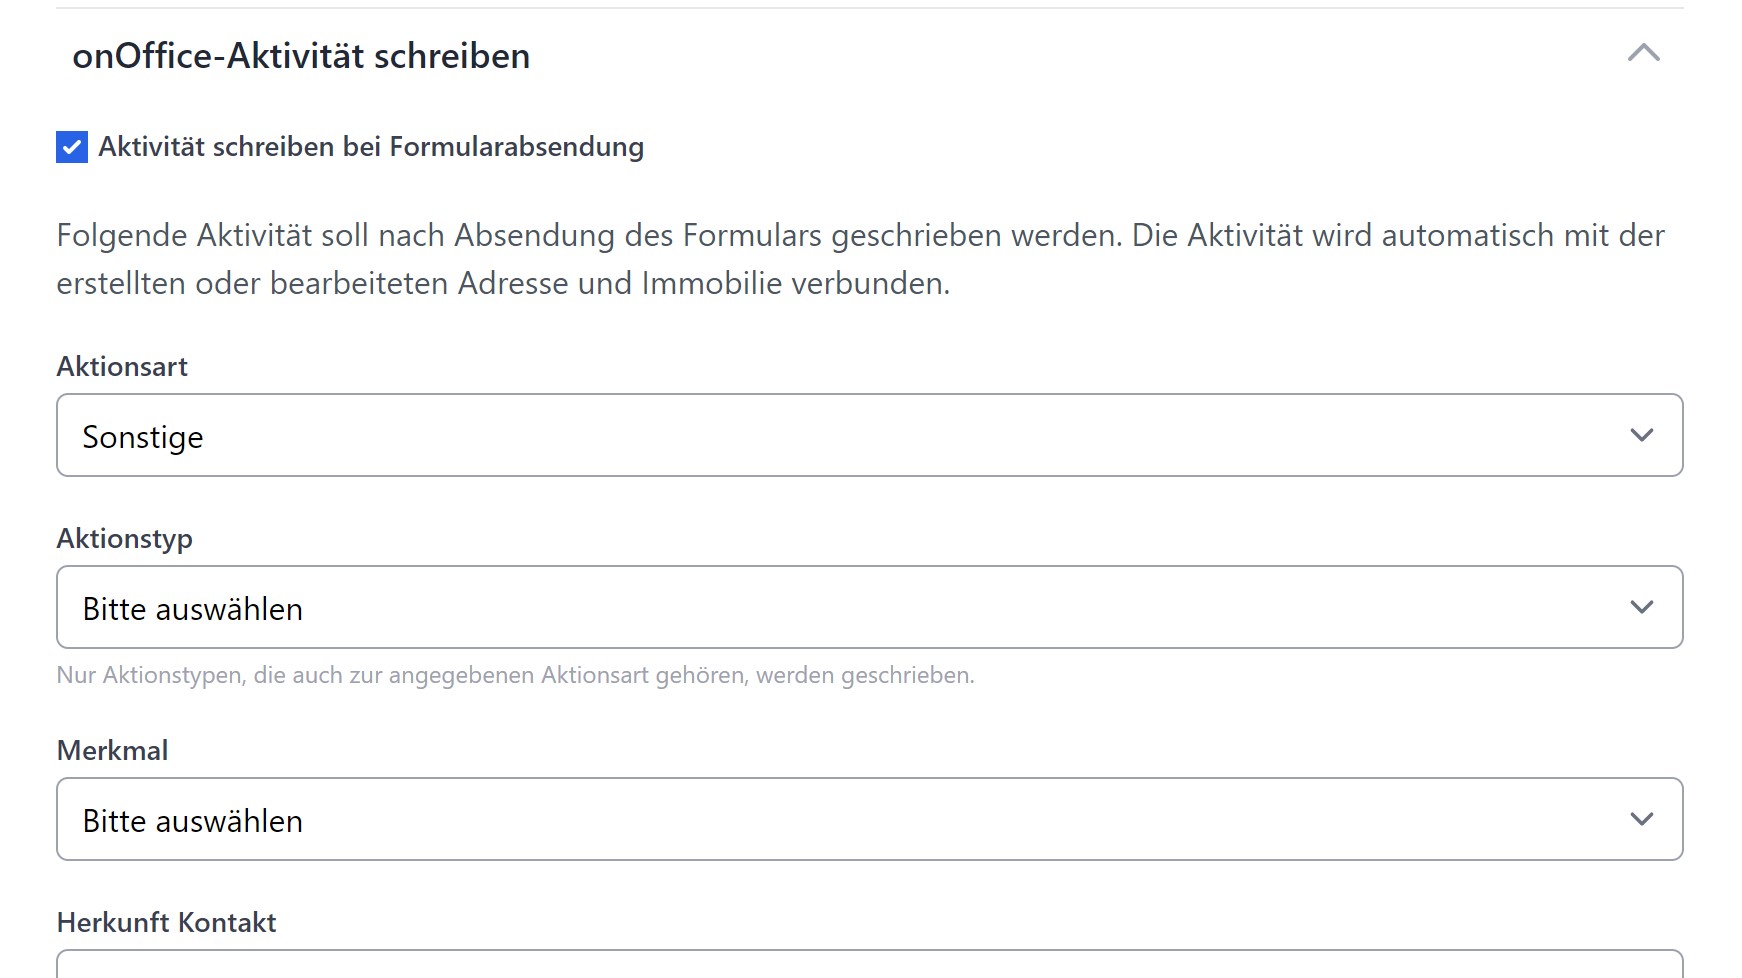
You configure the action type, action category, attribute, comment, responsible person, cost, duration, result, etc. The activity is automatically linked to the address and/or property from the form.
> In the Comment field of the activity, you can use macros — e.g. _objektart, _pfGetSearchCriteriaInformation (displays the search criterion just created), _pfGetSellingPriceOffer (purchase price offer from a prospective buyer) or _pfGetAgentslogInformation (activity just created). Complete macro overview: propform macros.
Activity on call — typical use cases
The activity on form call (in addition to the submit activity) is particularly valuable for audit trails:
- Download forms (see Download fields): The call activity documents “User has opened the document” — even if they haven’t downloaded anything. Combined with “Activity on download” + file hash, you have complete proof of access (who, when, what).
- Owner status pages: Tracking whether the owner actually reads the marketing report — valuable for reporting obligations.
- Link tracker for email campaigns: propform URL as a click tracker in newsletters/emails — every click generates an activity in onOffice with a record reference.
Dynamically control activity fields via URL parameters
Instead of creating a separate form for each activity type, you can use a single form with dynamically set action type and action category:
- Include fields
AktionsartandAktionstyp(from the Activity module) in the form - Set both to “Hide field” + “Allow pre-filling with URL parameters”
- The URL determines which activity results:
https://formular.deine-domain.de/dein-formular?agentslog[actionkind]=ACQUISITION&agentslog[actiontype]=phone
Use case: A tracking form accessed via various email campaigns or tool links records the appropriate activity (phone call / email click / appointment request) — depending solely on the link.
> 💡 Finding key values: As with all single-select values in onOffice, you need the internal keys (e.g. ACQUISITION), not the plain text labels. See Fields → allowed values for the DevTools Inspect trick.
As with the activity, except that a task is created in the onOffice tasks module. You specify the responsible person, assignee, subject, description, status, task type and priority.
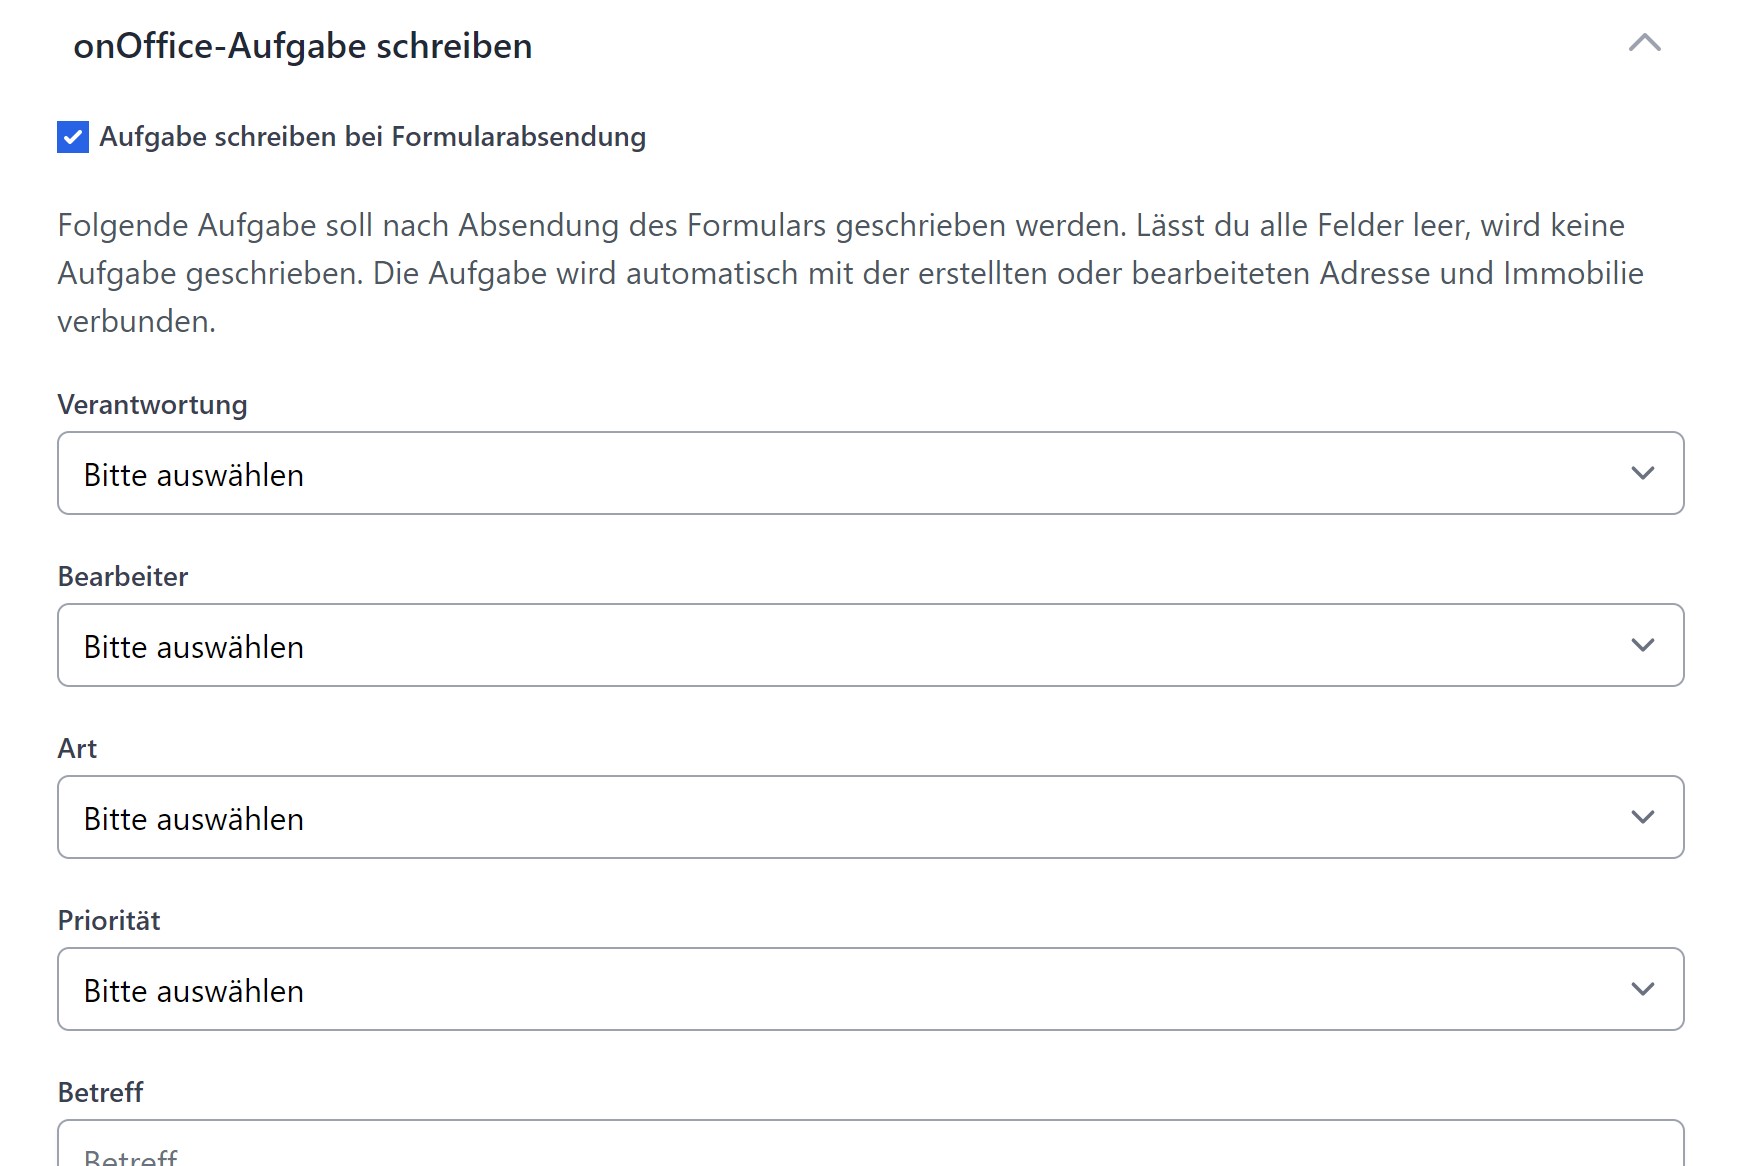
Here too, onOffice macros work in the subject and description.
Record links (property ↔ address)
If your form creates or edits an address and a property at the same time, you can choose how these are linked — e.g. as owner, buyer, tenant, prospective buyer.
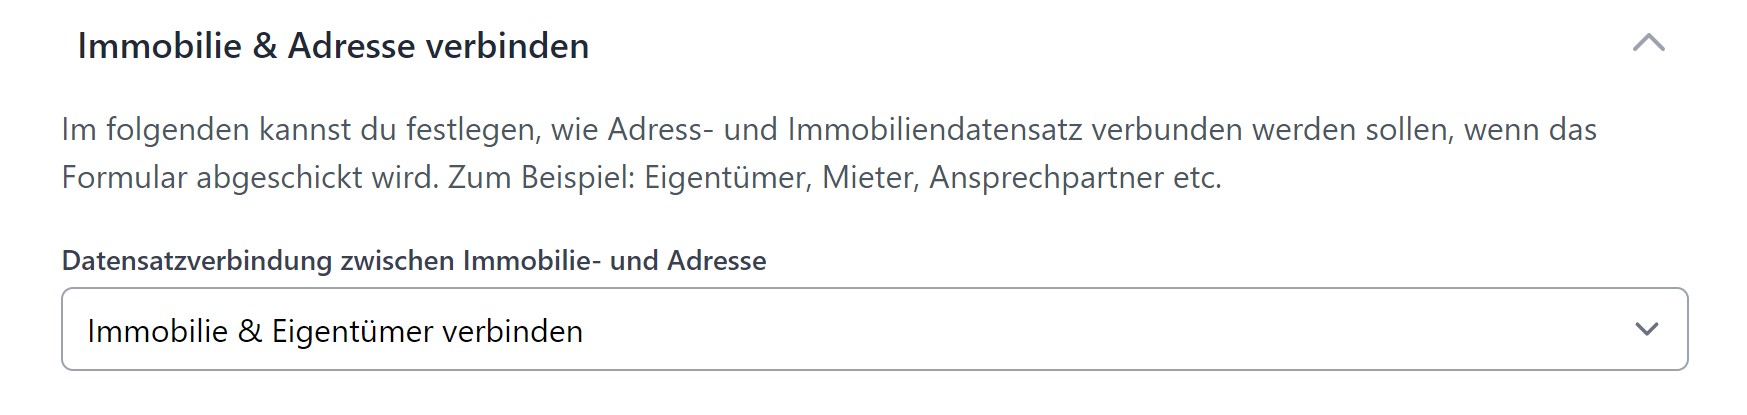
If you want to link dynamically (link type comes from a field or via a URL parameter), use the special field “Record Link” instead — see Record Link Field.
Editing existing records
Tick the box “Existing property and address records in onOffice can be edited using the form”. This allows you to use the form to edit existing records, rather than just creating new ones.
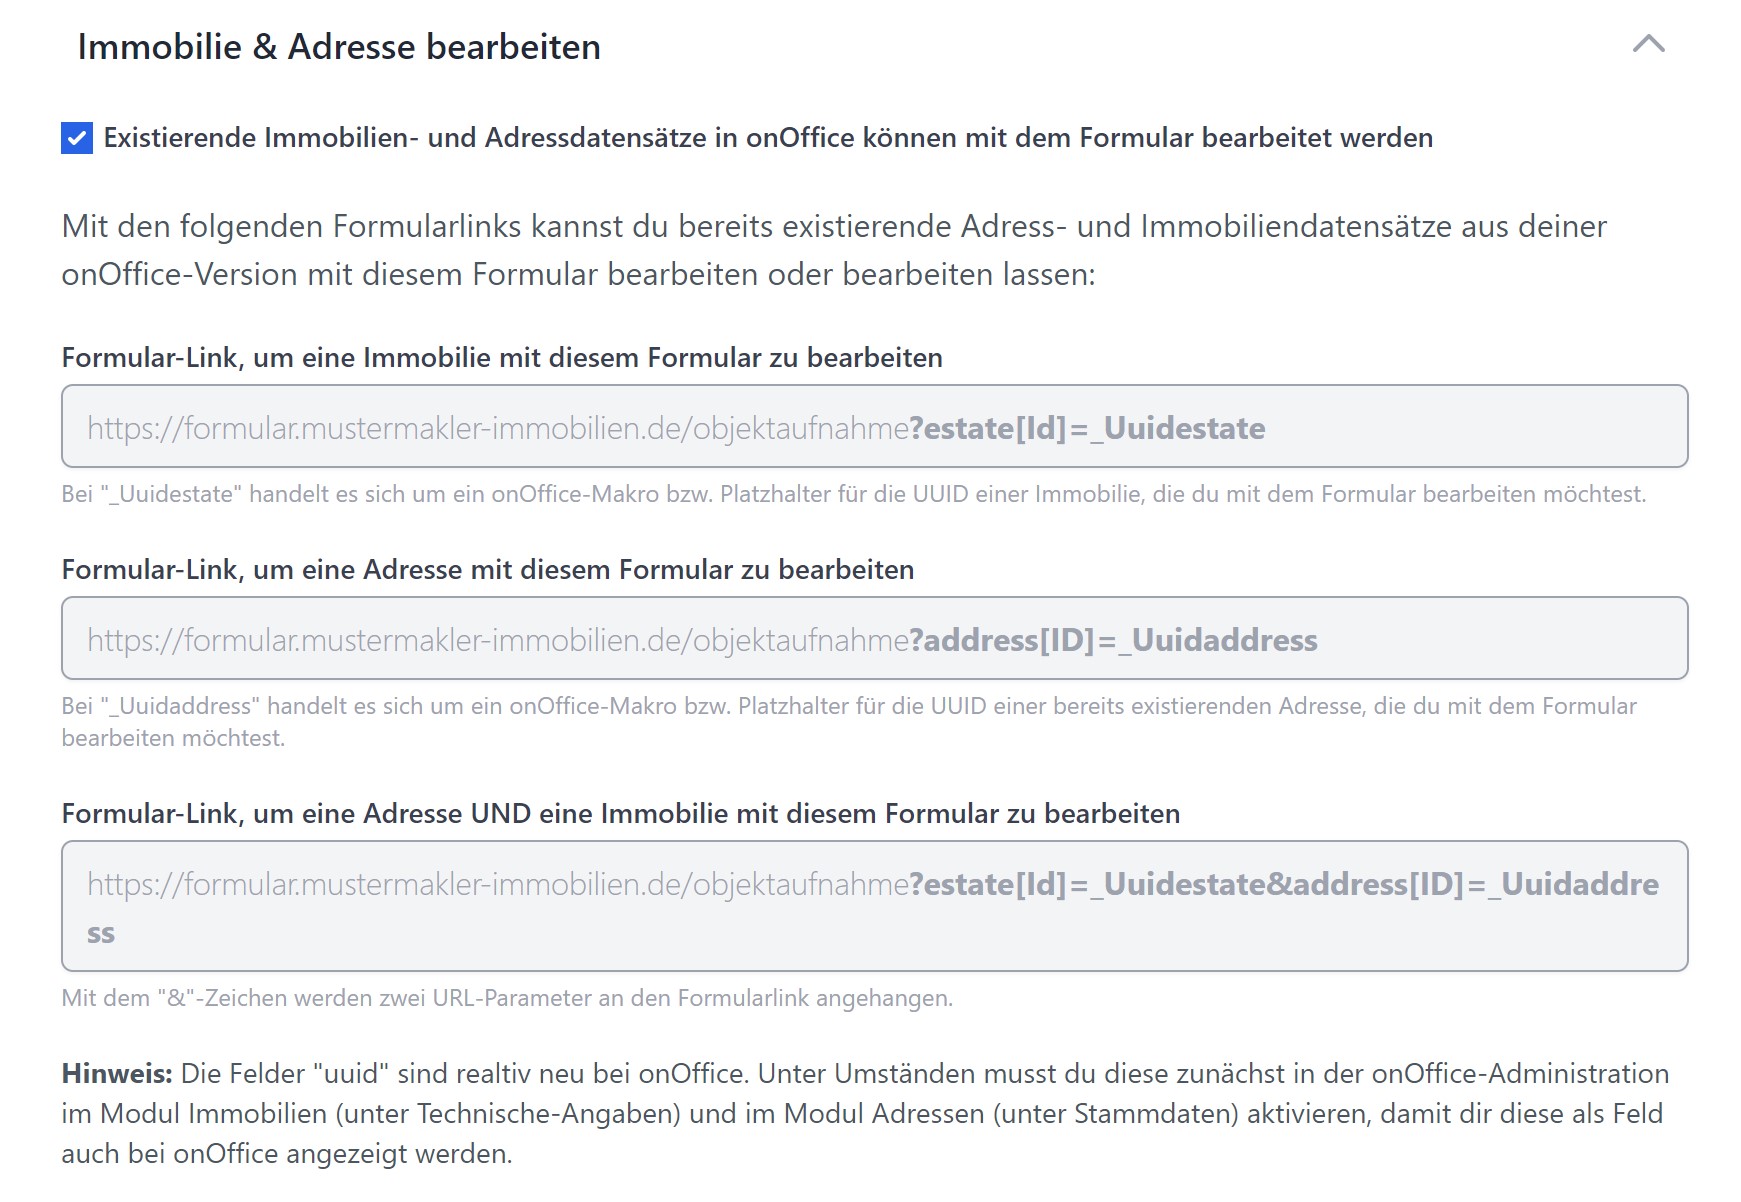
You load the record using the UUID as a URL parameter:
https://propform.io/form/dein-slug?address[ID]=_Uuidaddress&estate[Id]=_Uuidestate
You can use the macro _Uuidaddress or _Uuidestate directly in onOffice email templates or in a link field in the onOffice form. propform displays the finished links and formulas directly below this setting.
Load linked records automatically: If you load just one property via UUID, propform can automatically load the linked address as well (e.g. the owner). Conversely, the property linked to an address can also be loaded (First/Second/Third ownership, Rented, Listed, Purchased).
Filter settings: Restrict which addresses or properties can be edited using this form. Only records that match the selected onOffice filter can be loaded.
More details: Pre-filling with IDs and UUIDs.
Multi-Step
Long forms seem less intimidating if you split them into several steps. Enable “Multi-Step Mode” and insert break fields in the form builder where a step should end.
- Progress indicator: Shows your visitor which step they are currently on.
- "Next" / "Back" labels: Customisable.
- Using a break field, you can assign a GTM step name to each step (for tracking).
Conditions allow you to dynamically show or hide fields — depending on the values of other fields. Example: “Only display the ‘Rental period’ field if ‘Contract type’ = ‘Rental’.”
You create one or more rules; each rule consists of:
- If-condition (field + operator + value)
- Then-action (show field / hide field / set as required / etc.)
Configurable in the “Logic & conditions” section.
AI voice input
Can be enabled if your account has an OpenAI Platform API key stored. A microphone button will then appear in the bottom right-hand corner of the form. The visitor dictates their enquiry freely, and the AI fills in the relevant fields.
Handy for lead generation forms on the go via smartphone, where typing is cumbersome.
ChatGPT text generation
You can also use your form as an AI text generator — e.g. to automatically generate a property description from entered property data.
In the “Generate AI text” section, you define:
- Prompt (the instruction to the AI, which can be populated with macros)
- Target field in onOffice (where the AI response is saved)
- Model (GPT-4o, GPT-4.1, GPT-5.1 etc.)
- Fine-tuning (temperature, max. tokens)
Prerequisite: OpenAI API key stored in the account settings.
Write values (fill fields without input)
With “Write values”, you can fill additional fields in the address or property details after the form has been successfully submitted — without these fields needing to be visible in the form.
Example: You want to automatically enter today’s date into the address field “Last enquiry on” — or copy the search profile summary _pfGetSearchCriteriaInformation into an address field so that you have it available later in an onOffice PDF template.
For each entry, you select:
- Module (Address or Property)
- Target field (from the onOffice administration — internal field name, e.g.
ind_134, not the label) - Value (static or with macros)
For more information (including a sample video): see Quick Start Video “Writing Values”.
Workaround: Making activity field values available for email/PDF templates
Some activity fields (e.g. the standard field “Purchase price offer” or “Reason for rejection”) are not accessible via macros in onOffice email and PDF templates — so you cannot embed the value directly in the confirmation email or PDF attachment.
Workaround:
- Create a custom address field (e.g.
Sonstige1or your own custom field with the internal nameind_134) - In the form settings, create an entry under “Write values”:
- Module: Address
- Target field: the custom field
- Value: the activity field as a macro (e.g.
_kaufpreisangebot)
- After submission, propform writes the value to the address field
- The value is then available in the email/PDF template via the address macro (
_Sonstige1or similar)
Works for all activity fields that you would otherwise be unable to reference in templates.
Email notification
You have three independent email options that you can combine as you wish:
1. Confirmation email from propform to you
Standard notification. You receive an email with all the entries — either to your account email or to a separate address that you specify here.
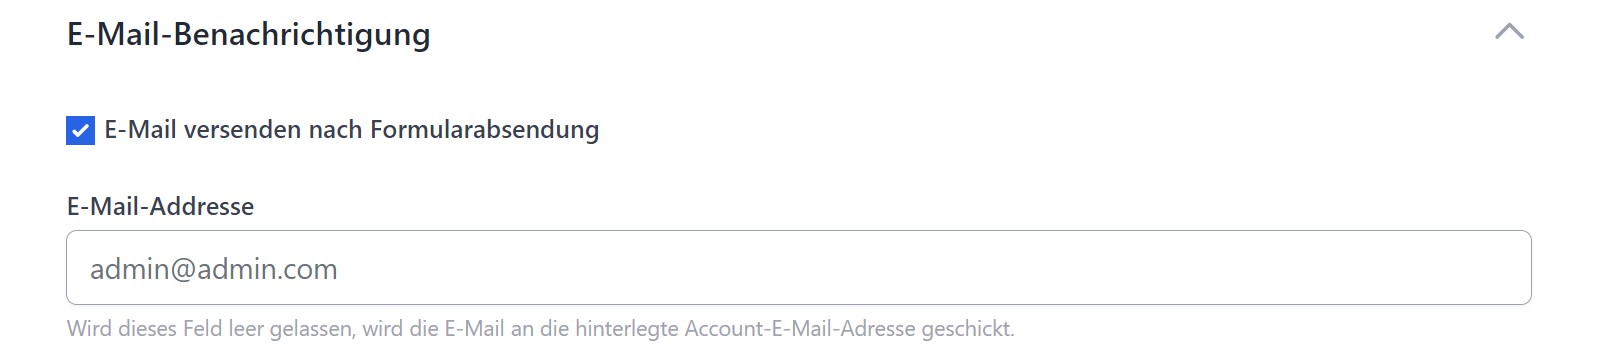
> 📎 Attachment limit: Uploaded files are only sent as attachments if their combined size is less than 25 MB (standard email limit). Larger files can then only be found in the relevant onOffice record.
2nd + 3rd emails via onOffice (two separate emails possible)
Sends an email via the onOffice API — i.e. from the email address of the onOffice user assigned to your API user, using your onOffice email templates, automatically placed in the correct outbox.
You select:
- Recipient (fixed or from an address user field for the property/address — e.g. “Team Leader”)
- CC / BCC (with macro resolution — e.g.
_ifEmpty(_Sonstige1;"fallback@test.com";"_Sonstige1")) - Subject & Body (macros work here too)
- Attachments: PDF property summaries, PDF letters, uploaded files
- Document attributes of the attachments
> ⚠️ Recipient logic: propform checks whether the recipient’s email actually exists as a primary address in onOffice. If not, a new address record is automatically created with this email address. This ensures emails reach the right person — even if the email address is stored somewhere as a secondary address.
More on this: Email in propform.
Send & Thank You Page
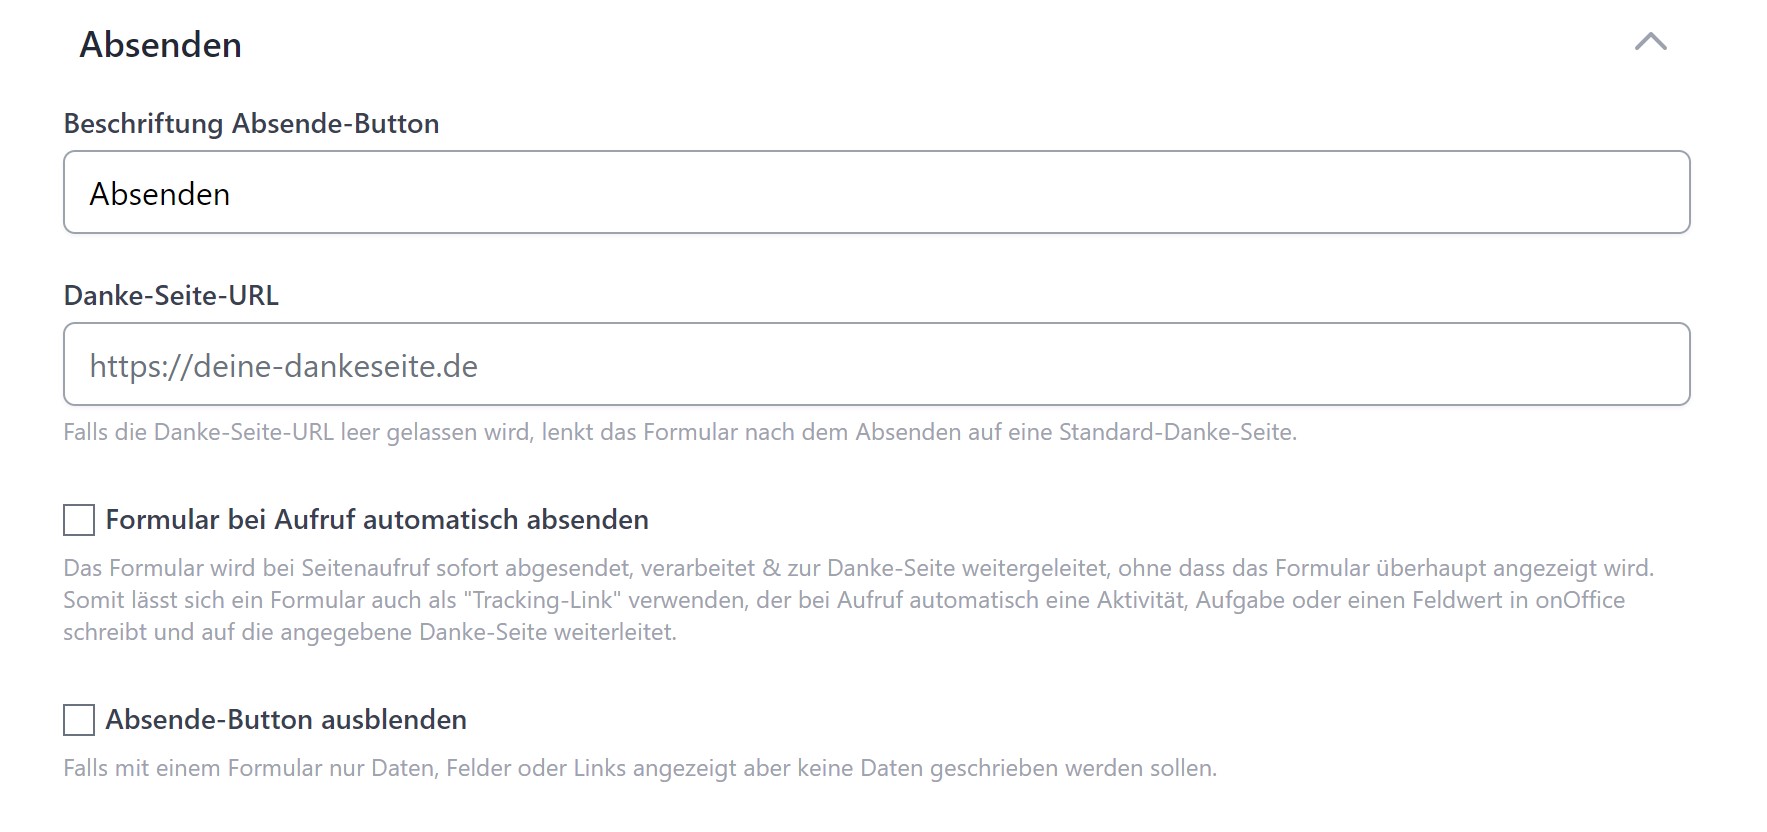
- Submit button label: Customisable — e.g. “Send enquiry” instead of “Submit”.
- Loading indicator label: What is displayed whilst the form is being processed (e.g. “Sending…”).
- Hide submit button: Useful if the form is more of a “Linktree page” or a simple thank-you page.
- Thank-you page URL: Where the visitor lands after submission. Blank = default thank-you page in the form’s styling.
> ⚖️ Compliance note for brokerage contracts subject to commission: For forms that trigger a fee-based contract (e.g. an exclusive brokerage agreement), the generic label “Submit” or “Sign” is legally risky — the German “button solution” requires a clearly recognisable statement regarding the payment obligation. Recommended wording: “Conclude brokerage contract”, “Engage broker subject to commission” or similar. propform accepts no liability for the legal correctness of the wording — in case of doubt, consult your own lawyer.
Thank-you page conditions (rules)
You can make the thank-you page depend on the answers: create rules (“If field X equals/contains/starts with …”) that are checked after submission — the first matching rule wins. Two actions are available:
- Custom thank-you text: The thank-you page shows its own headline and text (onOffice macros work as usual).
- Redirect: The visitor lands on a different URL — e.g. on different follow-up pages or follow-up forms depending on the enquiry type.
You combine several clauses per rule with AND/OR; the order of the rules determines the priority. If no rule matches, the default thank-you text or thank-you page URL applies. For more complex logic (e.g. calculated redirect URLs) there is still the formula approach.
Append IDs & UUIDs to the thank-you page
If you enter your own thank-you page URL, you can choose to have propform append the recently created or edited record IDs as URL parameters. This allows you to chain forms — the thank-you page then acts as a second propform form that processes the newly created record.
Options per module:
- Property UUID/ID + Type (Ownership / Purchased / Rented / etc.)
- Address UUID/ID + Type (Ownership / Contact Person / etc.)
- Activity ID, Task ID, Appointment ID, Search criterion ID
Auto-submit
When the form URL is called up, the form is submitted immediately (without the visitor seeing it) and redirects to the thank-you page. Use cases:
- Link tracker in emails — e.g. create an ‘Link click’ activity in onOffice
- One-click newsletter subscription/unsubscription
- Slot booking in combination with the calendar loop
Styling
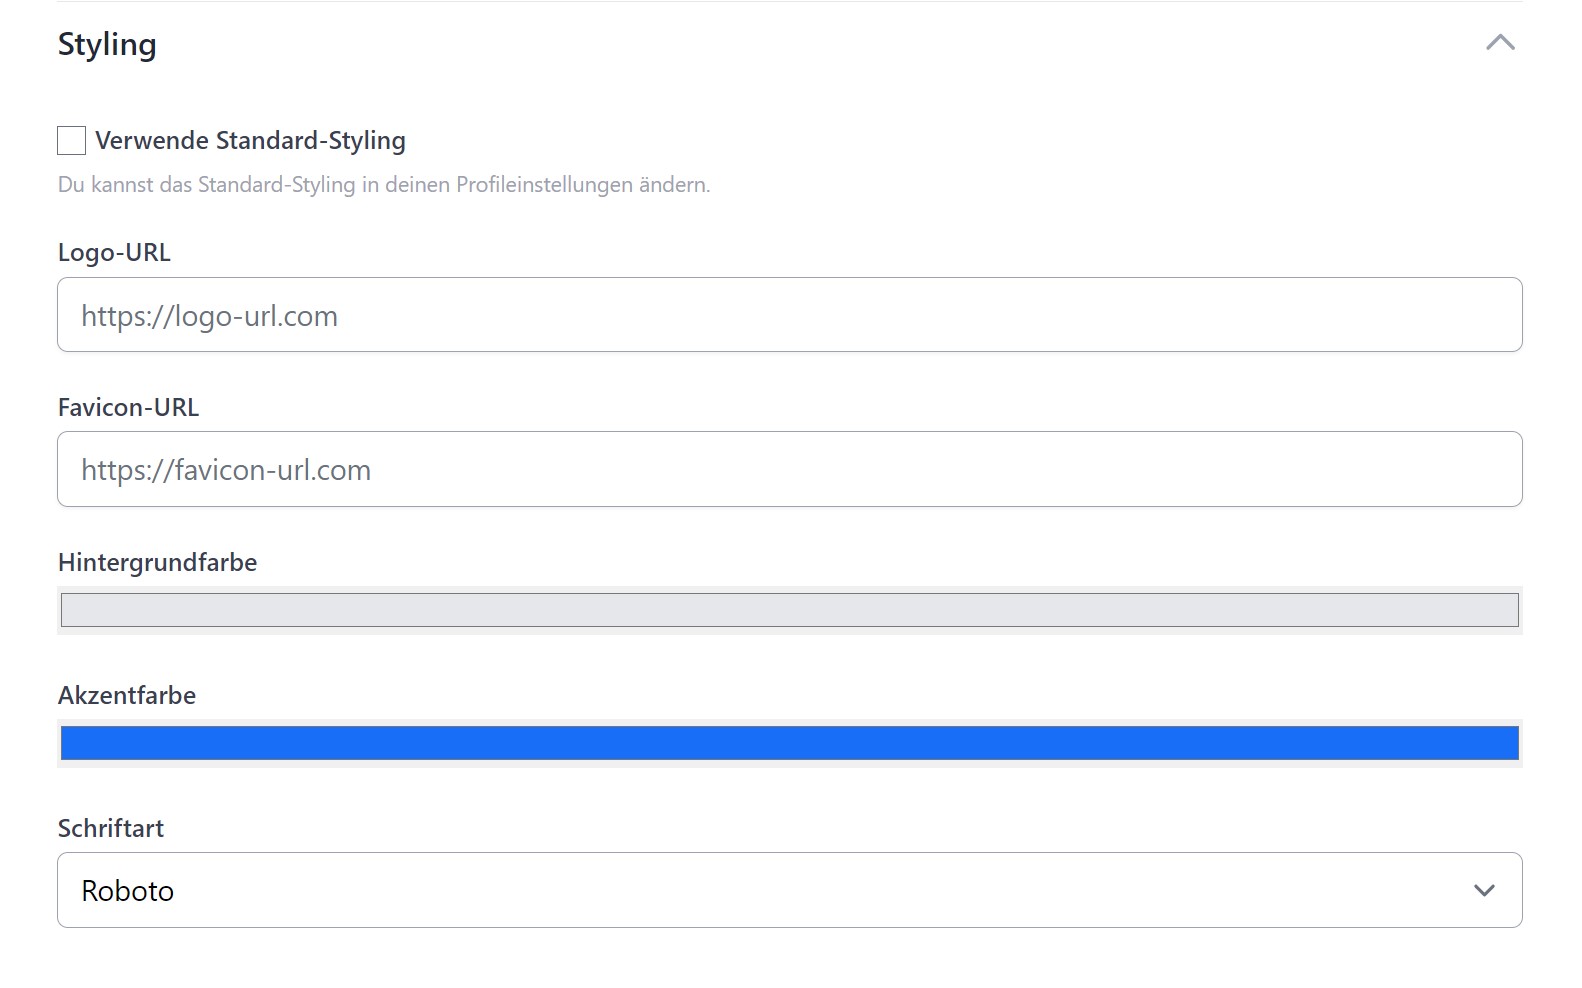
- Use standard styling: Applies the settings from your account settings. Alternatively, you can set custom values for the form.
- Logo & Favicon — via “Choose image” from your media library (upload directly into propform) or as an external URL
- Background colour + Accent colour (buttons, borders)
- Font (Google Fonts, locally hosted for privacy reasons — no connection to Google when the form is accessed). If your preferred font is missing, just drop us a line and we’ll add it.
- Design style: Square, rounded or “pill” (fully rounded)
- Background image — also via “Choose image” or URL — with filter options (blur, brightness, contrast, greyscale)
- Card style: Background colour, transparency, blur, shadow, corner radius — so that your form stands out from the background image, e.g. with a glass morphism effect
Legal Notice
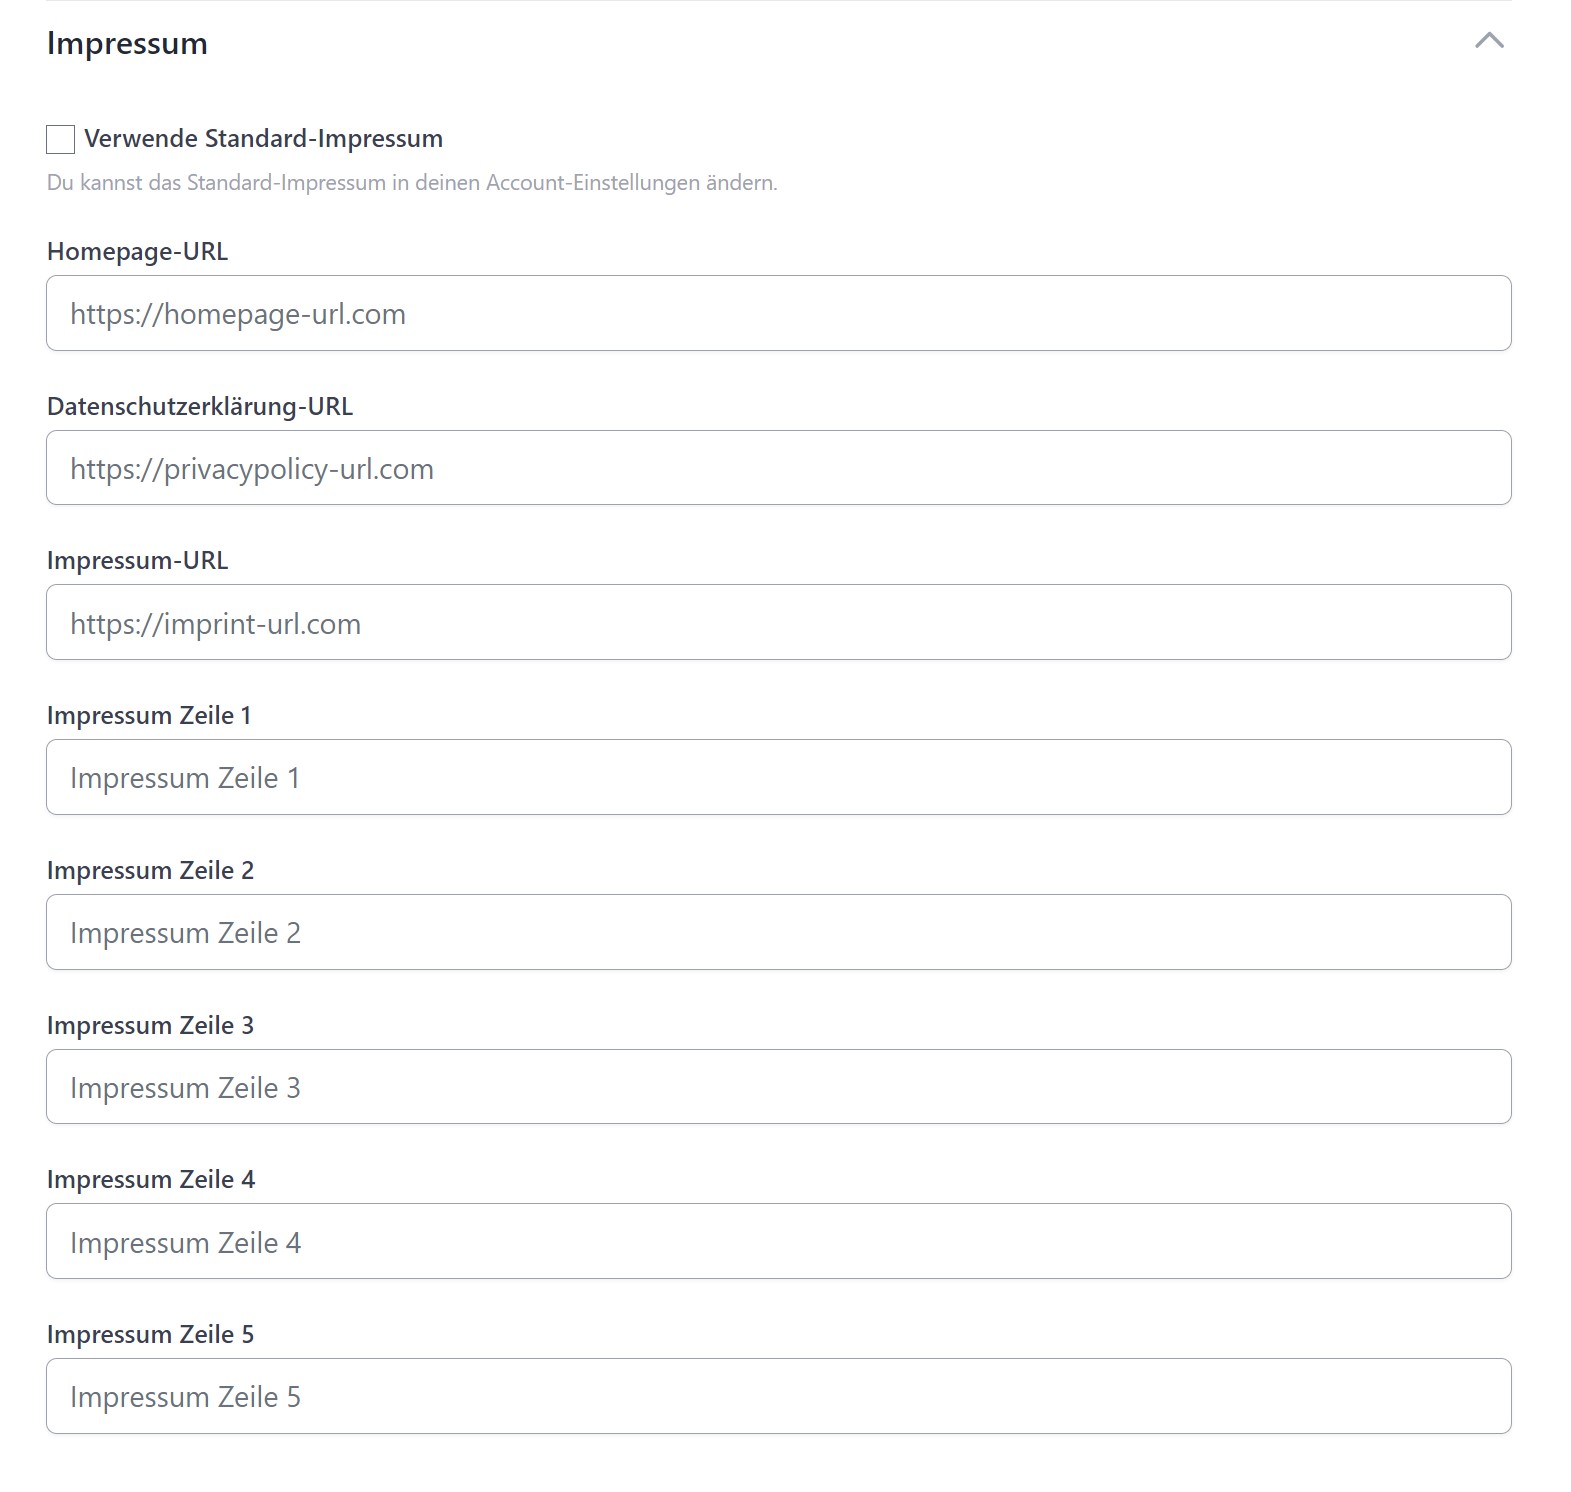
Below the form, you can display the legal notice, privacy policy, homepage and contact details — either using the default settings from your account settings or customised for each form.
You can embed the form into your own website in four different ways — propform generates a copy-and-paste code for each option directly in the form settings. Which option is suitable depends on your CMS, cookie consent tools and the desired styling.
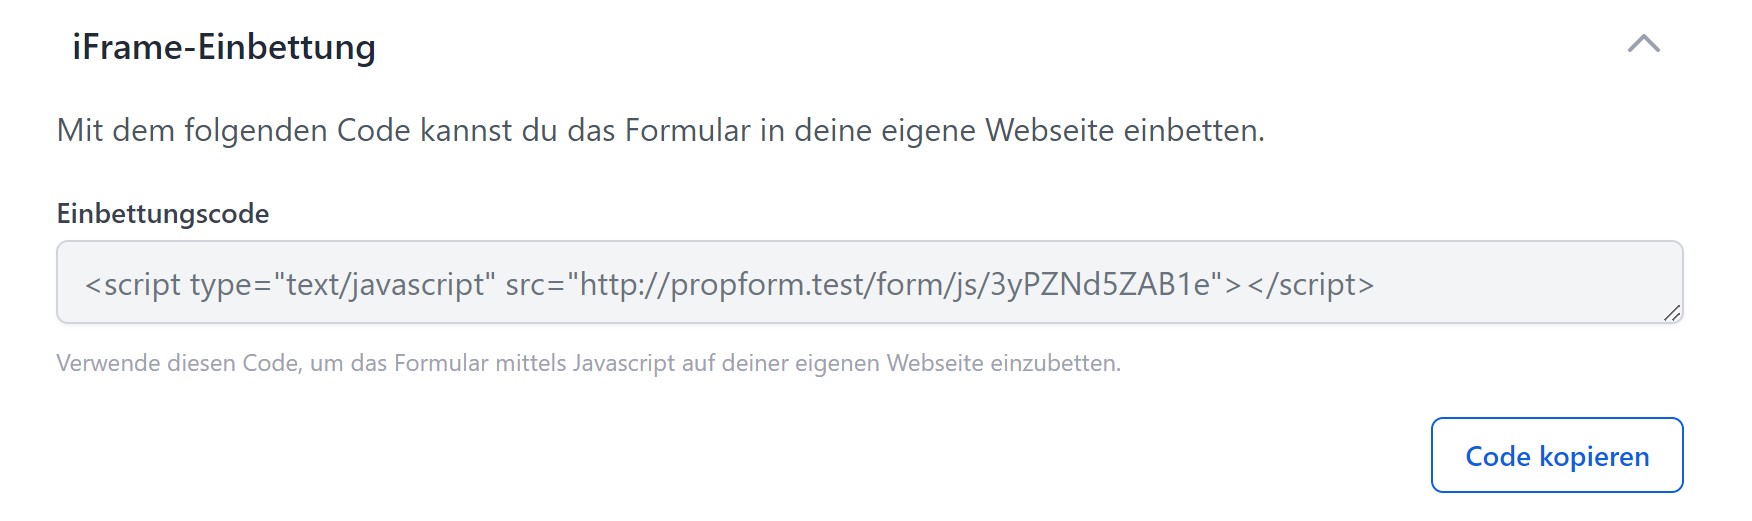
Option 1: JavaScript embedding code (classic)
<script type="text/javascript" src="https://propform.io/form/js/DEIN-SLUG"></script>
Loads the form via JavaScript and inserts it at the location of the <script> tag. The embedding method (see “iFrame script version” below) can be switched from document.write() to document.createElement() if the classic method causes issues in your CMS.
Option 2: Web Component (Alternative, modern option)
<script src="https://propform.io/form/webcomponent/DEIN-SLUG" defer></script>
<propform-form form-id="DEIN-SLUG" dynamic-height style="width:100%;"></propform-form>
A more modern option with automatic height adjustment. Clean DOM encapsulation, compatible with most CMS. Recommended if the classic JS code does not work.
> ⚠️ form-id must be the system-side slug (found in the form settings URL or in the edit link), not the custom URL path. Otherwise, the Web Component will display “Form not found”.
Option 3: iFrame with automatic height
<script src="https://propform.io/js/iframeResizer.parent.min.js"></script>
<iframe id="DEIN-SLUG" src="https://propform.io/form/DEIN-SLUG" style="width:100%; border:none;" title="Formulartitel"></iframe>
<script>iFrameResize({log:false, heightCalculationMethod:'bodyScroll', checkOrigin:false}, '#DEIN-SLUG');</script>
Classic iFrame plus the iframeResizer library, which dynamically adjusts the height to the form content. Useful if your CMS or cookie consent tool blocks external <script> tags — the iFrame itself is “just HTML” and is allowed through; you can enable the resizer script separately.
Option 4: Simple iFrame (without JavaScript)
<iframe src="https://propform.io/form/DEIN-SLUG" style="width:100%; height:800px; border:none;" title="Formulartitel"></iframe>
Pure iFrame without JavaScript. You must set the height manually (height:800px or similar) — no automatic adjustment. Useful as a fallback if all JS variants are blocked, or for forms with a fixed height.
Additional settings for embedding
Open thank-you page in...
Controls where the thank-you page appears after submission:
_parent(normal): Thank-you page opens in a normal browser tab/window — the iFrame is completely replaced_self(within iFrame): The thank-you page appears within the iFrame — the surrounding website remains visible
Select _self if the form is to be a permanent part of a landing page and the user is to remain on the page after submission.
iFrame script version
Only relevant for Option 1 (JavaScript embed code). Two methods for inserting the form into the DOM:
document.write()— classic method, simple, works in most CMSdocument.createElement()— alternative method, compatible with modern CMSs that blockdocument.write()after page load (e.g. WordPress with certain plugins)
If the classic code displays “nothing”, try the other variant.
Additional iFrame options
Two checkboxes for special cases:
- No iFrame border (
style="border:none;") — enabled by default. Only disable this if you want a visible browser default border (which is rarely desired). - Ignore cookie consent (
data-cookieconsent="ignore") — adds this attribute to the<script>tag so that cookie consent tools (e.g. Cookiebot) do not block the form script. Enabled by default. Only disable this if you deliberately want to hide the form behind a consent banner.
> Do you need further options (e.g. sandbox attributes, custom allow list)? Contact us at hello@propform.io.
> Ensure that the form styling blends seamlessly into your website layout — transparent background, accent colour adapted to your CI. More under Design & Branding.
Tracking
propform can communicate directly with three analytics tools:
- Google Tag Manager — pushes events
form_view,form_start_input,form_abort,form_submitto the DataLayer. For multi-step forms, additional step events (step name configurable per field). - Facebook Pixel
- Etracker
> ⚠️ Forms do not have a cookie consent banner. If you enable tracking, you, as the form operator, are responsible for ensuring that appropriate consent has been obtained (e.g. via your main page if the form is embedded as an iFrame).
If you enable webhooks, propform calls external URLs after a form is submitted — different webhooks can be defined for each module (address, property, activity, task, appointment, search criteria).
Useful for custom integrations that are not intended to run via onOffice — e.g. Slack notifications, your own CRM systems, Zapier/Make workflows.
Create & sign PDFs
A PDF can be automatically generated from every form submission — either a standard PDF containing all input values or an onOffice letter template / onOffice property description, populated with the form data.
Optionally, the PDF can be digitally signed (requires your own certificate) — relevant for legally binding documents such as powers of attorney or estate agency contracts.
Configurable:
- File name (with macros)
- Save destination in onOffice (which tab, which document property)
- Signature on/off
- Certificate data (type, encryption, name, location, reason, contact info, level)
Statistics
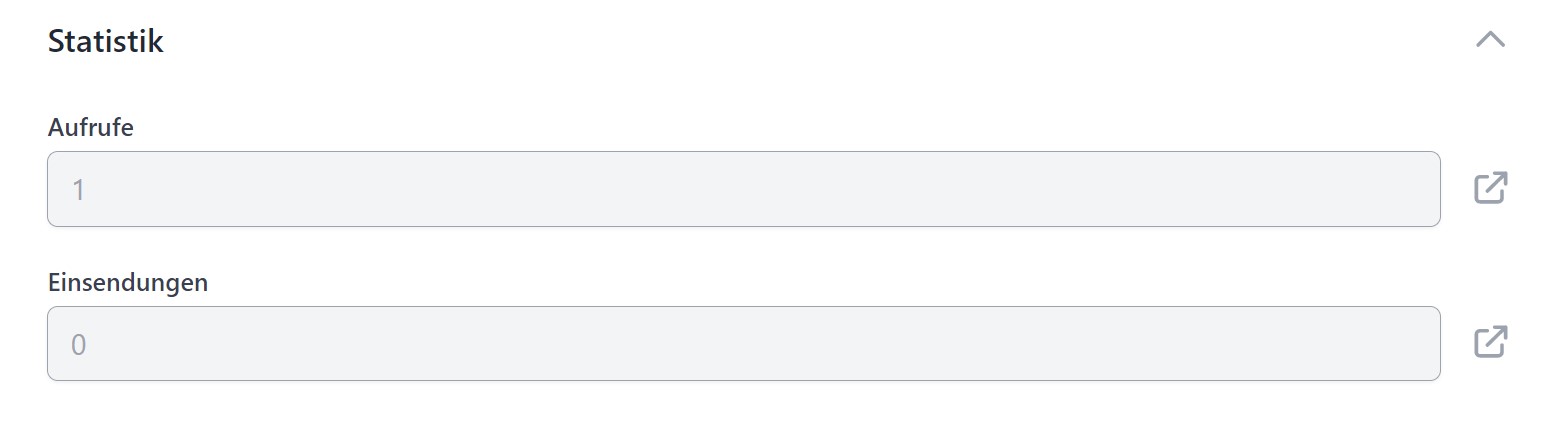
The section shows the counters and links to three dedicated list pages:
- Submissions: All submissions with a content preview (e.g. name/email of the enquiry), a detail view with all input values, deletable individually or in bulk.
- Views: All form views with date/time — deletable to reset the counter.
- AI answers: The generated ChatGPT texts, also deletable individually or in bulk.
All three lists have a from/to date filter, a search and pagination (50 entries per page) — even very large accounts stay fast.
CSV export: Via the export button you download the submissions as a CSV — exported is the currently filtered list (max. 10,000 rows), ideal for Excel evaluations or handovers.
> 🔒 Data minimisation: In Account settings → Statistics, you can completely disable the saving of form submissions or IP addresses. In this case, page views and submissions will still be counted, but no content will be stored.